How to Make Time-lapse Video: The Ultimate Guide for Beginners
I am writing this article because I recently realized that there is a lot of information out there about how to make a time-lapse video, but not much on the Internet about how to do it for beginners. This guide will provide you with tips and tricks on what equipment you need, how to set up your camera, photo editing software recommendations, and more!

How to Make Time-lapse Video
Ways to Use Your Time-lapse Videos -Time-lapse photography is an excellent way to capture your memories. You can use time-lapses for anything you want; weddings, vacations, parties, family gatherings (birthdays), the birth of new pets or children (puppies and kittens)… the list goes on! If you are new to time-lapse photography, you are probably wondering what kind of camera gear is needed.
Which Cameras Are Best For Time-lapse Video
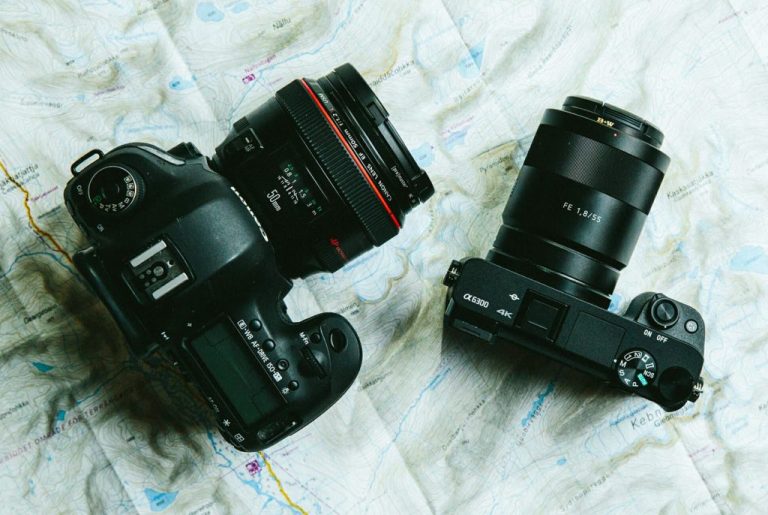
Time-lapse video is always popular on social media. There are many different types of cameras that you can use for time-lapse videos. The main difference between cameras is the features that they have. If you want to save money, I recommend using your smartphone camera or a GoPro. These types of cameras are easy to use and small enough for just about anyone to carry around! If you have a DSLR camera, that is perfect too.
There are many different types of cameras that you can use for time-lapse videos. If you want to create a professional-looking time-lapse, invest in some good equipment and tools. I personally own the Canon T70i (a beginner’s level DSLR) and recommend this one because it has all of the features needed for shooting great quality video at an affordable price.
If your budget allows, upgrade to something like the Nikon D850 or even better: The Sony A77V which both offer more advanced features such as weather sealing and built-in GPS — making them excellent choices. If you plan on doing any outdoor photography. For filming indoors with artificial lighting, I recommend using a camera with built-in LED lights to avoid shadows.
Equipment For Making Time-lapse Video
If you want to create a professional-looking time-lapse, invest in some good equipment and tools! Now that we’ve talked about cameras, let’s move on to the actual process of recording your video. When it comes to shooting great quality footage for time-lapses, there are many factors that go into deciding the best settings for capturing high-resolution photos at a fast capture rate (exposure).

First thing you need is a tripod. It doesn’t matter if it is cheap or expensive; as long as it keeps your camera sturdy enough during filming then that’s all that matters.
To ensure sharp images, use a timer remote to take a picture every 15 minutes. Next, it is important that the camera stays in focus during filming so I recommend using manual focusing instead of autofocus which can shift from being sharp throughout the recording. If you have an interchangeable lens camera such as Canon or Nikon DSLRs, use lenses with Image Stabilization *(IS).
IS keeps images sharp even when handheld and reduces motion blur caused by shaky hands. Once again, if you are going for professional quality footage then invest in a good telephoto zoom lens with an image stabilization feature built into the body of the lens itself – not just on the attached filter ring! This type of advanced technology is what makes these lenses great for shooting time-lapses.
Camera Setting For Time-lapse Video
Once you have all of your equipment, it is important that the camera stays in focus during filming. For example, The Rokinon DS 50mm F/14 lens has both an Image Stabilization feature built into the body and a small tripod foot to keep everything steady!
Another thing I recommend doing before making any video is taking some test photos with different exposure settings (shutter speed) until you find one that fits perfectly with what type of visuals or effects you are trying to capture. Also, remember to set up your shot exactly how you want; if there will be moving objects then make sure they aren’t going through where the camera needs to see them.
It is also important that you configure your camera settings before recording. If you are using DSLR make sure it is set to manual mode (M) for full control over exposure variables such as aperture size (f-stop), shutter speed, ISO, etc. For beginners, I recommend starting off with these basic types of time-lapses: sunrises or sunsets; clouds moving through the sky; city lights at night; stars in motion across the dark sky; waterfalls with flowing streams. There are however many other options so let’s take a look at some of the most popular time-lapse types in more detail.
How To Take Good Under Water Photos
Camera Setting For Moving Clouds Time-lapse Video
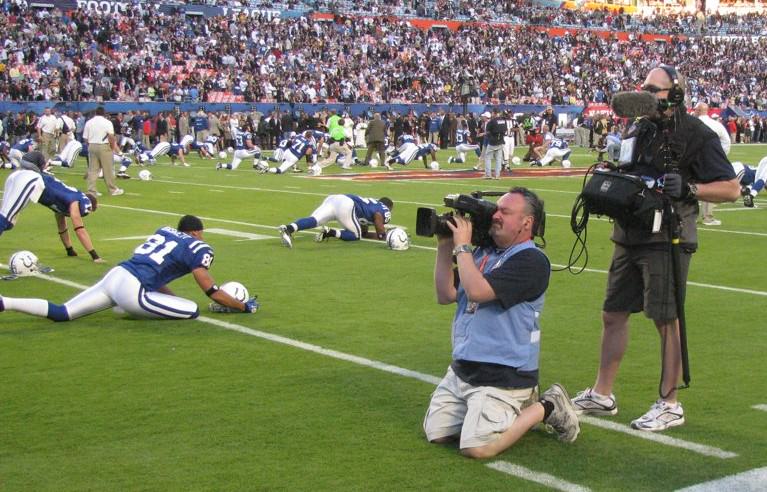
For instance, when it comes to filming an outdoor scene like this one where there is natural lighting present then use shutter speeds between ½ and ¼ seconds depending on how much ambient light there will be. If the sunlight is too bright then a neutral density filter will be needed to reduce the light intensity or else your time-lapse might look overexposed and washed out – not good!
For example, One of my favorite types of time-lapses includes moving clouds that change shape as they move through the sky during sunrise or sunset with dramatic colors coming into view after every passing moment. A popular question I see from photographers who are new to shooting video with DSLR cameras revolves around something called lens compression (a term used in photography). Which can make objects near the edges appear larger than those towards the center of a frame.
In other words, it can make sense of objects in the frame appearing closer to one another than they are. This is why it’s always better for beginners to shoot time-lapses using a mid or telephoto lens instead because this kind of compression will not be as noticeable with these types of lenses unless you want it to!
Night Time-lapse Video
Remember that shooting at night requires more light so use a tripod and a timer to avoid blur from camera shake. Here, I am showing how you can add even more interest into any night sky time-lapse by adding stars trails at the end using Adobe After Effects CC 2015.
To put simply star trials happen when we have a long exposure – this means that you have to leave your shutter open for as long as possible. In other words, the longer it takes for an image sensor or digital film to record light data from the scene being photographed the more elongated those “light trails” will become!
Another option is using motion blur which can create even better results when stars are moving across a night sky with minimal cloud coverage. The best way I know how to shoot star trails at night requires shooting multiple exposures and stacking them together during post-processing because there isn’t one setting that works great every time!
There should be some type of movement going on within the frame such as clouds passing by overhead so try experimenting with these different variations until you find a good option.
Traffic Moving Time-lapse Video
In addition to shooting inanimate objects, time-lapses can be created from videos of people or even traffic moving through busy intersections and city streets. This is actually my favorite type of time-lapse because it has so much happened within the frame that there are many ways this technique can add interest to any scene.
With all that being said, try not to film too close up when using something like this otherwise your viewer might miss out on what’s going on around them. Which can make for an anti-climactic final result *(a term used in movies). Also, remember to record video at a higher resolution such as 1080p or even Ultra HD (UHD). If possible because this will allow for more flexibility during post-processing when it comes to cropping or scaling down your final video.
The best time of day to shoot on the street is actually at dusk rather than later in the evening; you can use car headlights, traffic lights, and shop windows as light sources which are all great options! For example, I would recommend using a tripod with image stabilization so that any tiny shake from holding your camera isn’t transferred into your footage.
Another thing worth mentioning is that filming wide shots include lots of elements within them so try not to cut off people’s heads or accidents happening right after they appear on the screen.
Also, remember that most DSLR cameras allow for high-speed video recording when shooting at lower frame rates such as 24-or-30fps. This means that you can record slow-motion footage by playing back your recorded clips at a faster rate which is actually pretty cool! Using ND filters with DSLR cameras whenever possible because they allow for longer shutter speeds which result in sharper footage.
The last thing I want to mention here about time-lapse videos shot on the street revolves around avoiding blurry images. Basically, make sure there isn’t any movement within the scene; try using shutter speeds no slower than 50/60th of a second. If possible because this will ensure sharp results all throughout your clip! For instance, I would recommend not panning while filming otherwise it might be hard to keep people and objects in focus especially when there is a lot going on in the frame.
Time-lapse videos are much easier to create when you have access to DSLR cameras with articulated screens because this will allow you to see what’s being recorded without having the camera attached directly to your tripod. In addition, it’s always best practice for beginners to turn off any type of image stabilization within their lenses which can cause blurriness during recording and make post-processing more difficult later on down the line! This effect happens by adding even more movement into scenes where everything else is kept stationary such as cars driving through city streets or people walking around a busy intersection.
How to Edit Time-lapse Video
Finally, I would recommend using Adobe After Effects CC 2015 (or any other editing program) to create your time-lapse videos because it’s by far the most versatile option out there! The great thing about this software is that you can achieve any type of color grading effects, adjust focus points, and even add titles into your work *(a term used in movies). If you are new to video editing then I would highly suggest reading up on After Effects tutorials online which will be a huge help once it comes time for post-processing.
Conclusion:
All of these different techniques require practice but remember not to get discouraged if something doesn’t turn out as planned; every artist was first an amateur at some point!
Read More: How To Check Camera Shutter Count
![What Is The Best Brand Of Trail Camera? [Invention of Trail Cameras]](https://cameraslife.com/wp-content/uploads/2022/10/website-image-7-768x402.png)