How To Set Up Trail Cameras in 2023! [Complete Guide]
Using a trail camera can be very beneficial especially if you are using it for hunt. Therefore, you must spend some time understanding its features before going out in the field to set up.
Tips On How to Set Up Trail Cameras
But how to set up trail cameras is a big thing in itself to learn. For this purpose, I have listed some tips which will help you successfully set up trail cameras.
Give Your Trail Cameras Names
It might be a good idea to give each trail camera a name if you intend to install several of them. When reviewing the SD cards, you will be able to tell which was more successful in this manner, and this information will also be useful for future setups.
Decide exactly how many pictures and videos you want camera to take before the sensor is triggered.
Keep Your Distance
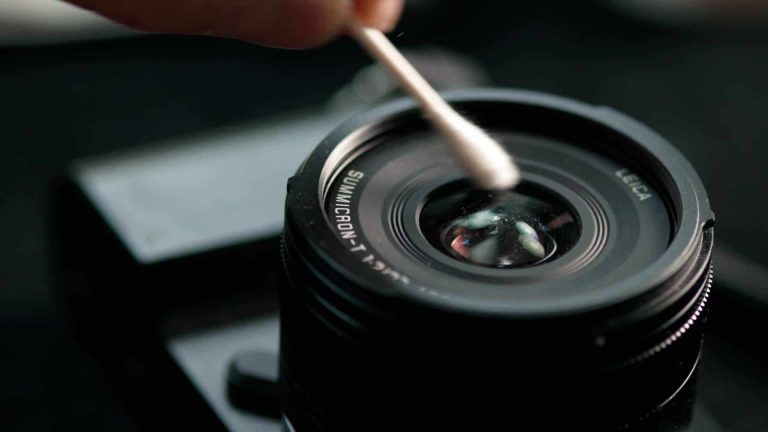
You must minimize your scent as much as you can. Before installing each trail camera, give it a thorough cleaning. Then, to prevent spreading any unwelcome aroma, think about wearing gloves when handling.
Recognize The Surroundings To Set Up Trail Cameras
It can sometimes be difficult to determine an ideal area to install your trail camera. You must be able to recognize surroundings for any telling indicators. Utilize seasonal variations in behavior.
The obvious possibilities for location, particularly in winter, are feeders and mineral sites. Watch for pathways that may lead up to bedding areas; this is frequently a clue that you have a good location for your trail camera.
Position Of Trail Cameras
The camera’s position is crucial; you must make sure angle and direction are ideal. Hang camera about three to four feet from ground, keeping it horizontal. Orienting your camera against sunrise or sunset will help prevent overexposure.
It’s okay to have some cover but make sure nothing blocks camera’s vision while the wind blows.
Let The Trail Camera Do Its Task
Leave trail cameras up once they are set up and functional. Although you’ll be tempted to check them frequently, wait for a little before going back to site to give it time to settle.
Leave trail cameras up for longer than two weeks, depending on where camera is placed. During this time, you should anticipate having 2000–3000 photos and a few films. Naturally, not every picture will be helpful.
However, if set up properly, your trail camera will help give you some extremely useful information about wildlife behavior and movement near area where the trail camera has been placed.
Where To Place Trail Cameras for Deer
Below are some best places to help you capture information on deer.
Creek Crossings
One of finest places to gather a significant sample of deer from any specific property is around creek crossings. The explanation is straightforward: Deer are drawn to particular spots to cross waterways and surrounding terrain.
A well-used crossing is indicated by shallow water, accessible terrain, and of course tracks on muddy banks.
Field Edges
Nothing draws deer together more than a good field of beans, alfalfa, or clover in summer. Nearly every deer in the area will visit there in summer as a destination food source.
These fields are among greatest places to survey a region since does need lush greens to recover from pregnancy and bucks need high concentrations of protein to build their antlers.
Marsh Edges
My very favorite places to install trail cameras are along edges of marshes. Deer spend day sleeping in marshes and only emerge to feed at night.
Clear Cuts
In early spring through late fall, and occasionally even into the winter, clear cuts, areas where elder trees have been felled, and areas where early successional growth has formed are wonderful sites to find deer gatherings.
Scrapes
Deer communication centers are called scrapes. However, sometimes it might be difficult to pinpoint the exact site of a scrape, particularly when one is opening out near a rut. Instead of territory scrapes and rut scrapes, which are usually only utilized a few times during particular times of the year, it’s crucial to discover communal scrapes that all deer use.
Isolate Food Sources
Isolated food sources are much different from destination food sources like food plots, agricultural fields, and even oak flats, but are rather small food attractants such as an isolated apple tree, an oak tree on a marsh island and where it is legal, bait piles, or mineral licks.
These areas attract deer to feed throughout the day, as they can often be located within security cover, allowing deer to feel comfortable feeding without the cover of darkness. These isolated food sources probably will not attract every deer within a mile but will attract deer that bed close, giving you a good idea of what deer are in the immediate area.
Rub Clusters
Finding rub clusters is a method I have been playing with and have had great success with. To be clear, rub clusters and rub lines are very dissimilar. One buck just makes rub lines to denote territory, sleeping regions, or to simply vent aggression.
Small groups of seedling trees known as rub clusters can be found near bogs, along field edges, or at edge of thickets. These areas are frequented by many deer. There are several hundred rubs in an area as small as one acre, so once you come across one you will know exactly what you are looking at.
Frequently Asked Questions
What Height Should the Trail Camera Be Set At?
Although there isn’t a standard height, it’s normally ideal to maintain cameras at a deer’s height, or around 3 feet tall. Occasionally, though, you may need to get lower to avoid limbs. Place cameras 6 to 7 feet higher and out of deer’s line of sight if you think they would startle them.
Can Deer See Trail Camera Flash?
While scouting, deer can notice flashes from trail cameras, but by using infrared and invisible flash cameras, you can reduce the chances of startling them.
If you’re not cautious, a strong flash could cause deer you’re pursuing to flee and undo hours of your diligent effort
Can You Cover the Red Light On A Trail Camera?
You cannot cover red LEDs of your trail camera because it uses red infrared as a flash at night.
If you will cover it then your photos at nighttime will turn black.
When Should You Put Out Deer Cameras?
You should put out deer cameras when the weather starts to get warmer. Deer use fresh water sources and sites that are mineral rich to stay cool in such weather. This is where you should put out deer cameras.
What Should I Set My PIR Interval To?
PIR intervals on most trail cameras range from 5 seconds to 60 minutes. I advise beginning at a 30-second delay interval if you’re just getting started. This will record any animals that pass by and record numerous sequences and videos of any creatures that linger for more than 30 seconds.
![How Do Nanny Cameras Work? [2023 Updated]](https://cameraslife.com/wp-content/uploads/2022/11/website-image-4-768x402.png)
![How Do Cellular Trail Cameras Work [ Complete Guide in 2023]](https://cameraslife.com/wp-content/uploads/2022/10/website-image-8-768x402.webp)